
Lay GAF Shingles Flawlessly with This Step-by-Step Walkthrough
Pre-Roofing Essentials for Proper GAF Shingle Installation
A flawless GAF shingle installation follows a clear sequence: inspect and prepare the roof deck, install drip edge and underlayment, align starter strips along the eaves, nail field shingles within the designated nail zone using proper offsets, flash all walls and penetrations, and finish with ridge caps. Before driving a single nail, safety protocols and workspace prep dictate the success of the entire roofing project. Roofing work demands full OSHA compliance, including personal fall arrest systems (PFAS), secure anchor points, harness inspections, and sturdy footwear with high-traction soles. Ladders must be placed on firm, level ground, extended 1 foot out for every 4 feet of wall height, and tied off at the top while extending at least 3 feet (36 inches) above the roof eave. Keep non-conductive fiberglass ladders handy when working near electrical drops—metal ladders around live power lines are an accident waiting to happen.
Carefully inspect the substrate before laying materials. Clean the entire surface of stray debris, old nails, and sawdust. Following the Pro Field Guide helps installers follow manufacturer-approved standards that prevent early installation breakdowns.
Roof Deck Standards and Underlayment Membrane Requirements
GAF shingles require a clean, dry, and solidly sheathed roof deck made of minimum 3/8-inch (10 mm) plywood or OSB decking. Spacing between wood deck boards must not exceed 1/8 inch (3 mm). Replace any rotten, warped, or delaminated decking immediately to create a flat, nail-holding base. For an asphalt shingle roof, what you need to know is that an uneven substrate causes shingle humping, poor tab adhesion, and water ponding.

Next comes moisture protection:
- Metal Drip Edge: Fasten corrosion-resistant metal drip edge directly along the eaves first. Along the rakes, install drip edge over the underlayment. Provide at least a 3-inch (76 mm) roof deck flange for enhanced system warranties.
- Self-Adhering Leak Barrier: Install GAF WeatherWatch® (mineral-surfaced) or StormGuard® (film-surfaced) leak barriers directly to the deck along eaves, valleys, dormers, and roof penetrations. In cold climates subject to ice dams, the barrier must extend up the roof slope at least 24 inches (610 mm) inside the warm interior wall line. Remember UV limits: WeatherWatch® can remain exposed up to 60 days, while StormGuard® allows up to 90 days.
- Roof Deck Protection: Roll out breathable synthetic underlayments like FeltBuster®, Deck-Armor™, or Tiger Paw™ across the remaining deck. On low-slope roofs between 2:12 and 4:12 pitch, apply a double layer of underlayment or a full-coverage leak barrier. To keep UL Class A fire ratings intact, FeltBuster® must be installed over VersaShield® fire-resistant deck protection.
Fastener Specifications and Nailing Patterns for GAF Shingle Installation
Choosing the right roofing fasteners is essential. Use 10 to 12 gauge zinc-coated steel or corrosion-resistant aluminum roofing nails with head diameters between 3/8 inch and 7/16 inch (10–12 mm). Fasteners must penetrate at least 3/4 inch (19 mm) into solid wood decking or fully penetrate through the underside of plywood/OSB sheathing. Never use staples. Drive every nail straight and flush with the shingle surface without breaking the fiberglass mat or crushing the asphalt core.
When choosing between classic 3 tab shingles vs architectural shingles, fastening patterns and structural designs differ considerably:
| Metric / Specification | GAF 3-Tab (Royal Sovereign®) | GAF Timberline® (LayerLock® Series) |
|---|---|---|
| Minimum Allowable Roof Slope | 2:12 (with double underlayment) | 2:12 (with double underlayment) |
| Standard Nailing Pattern | 4 nails per shingle | 4 nails per shingle |
| High-Wind / Steep-Slope Pattern | 6 nails per shingle | 6 nails per shingle (or 4 in StrikeZone™) |
| Target Fastening Line | 5-5/8″ above bottom edge (above cutouts) | Within the wide StrikeZone™ nail area |
| Standard Wind Warranty | 60 mph – 110 mph (with special install) | WindProven™ Infinite Wind Speed Warranty* |
*Requires 4 qualifying GAF accessories and correct installation into the LayerLock® dual-phase StrikeZone™.
Step-by-Step GAF Shingle Application, Flashing, and Ventilation System Integration
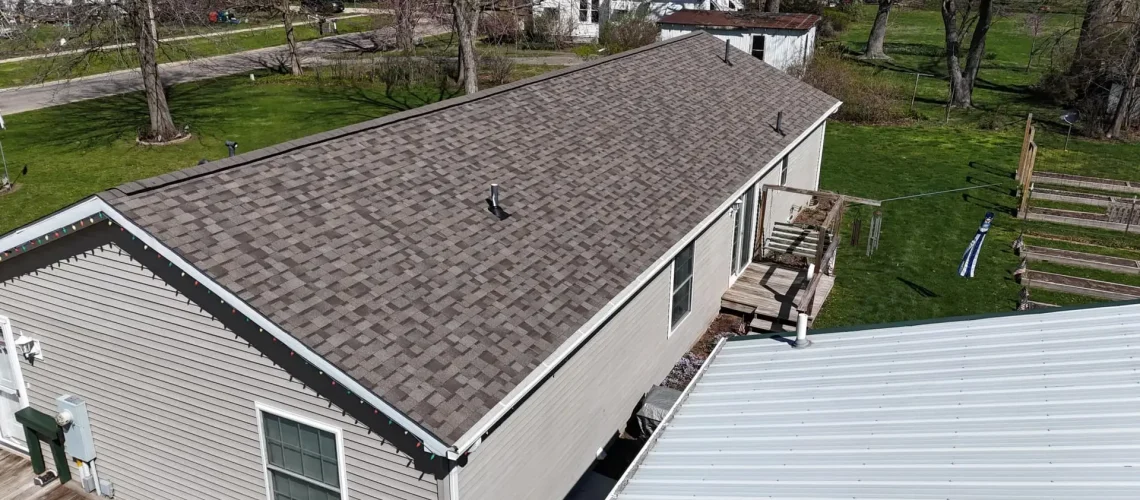
Proper layout and alignment prevent water penetration across roof planes. Review the Instructions for product-specific nuances before snapping your chalk grid lines.
Starter Strip Alignment and First Course Setup
Starter strips anchor the primary roof covering against wind lift at the perimeter:
- Starter Application: Place GAF Pro-Start® or WeatherBlocker™ starter strips along the eaves, positioning the factory sealant strip face up and toward the eave edge.
- Overhangs: Overhang starter pieces 1/4 inch to 3/4 inch (6–19 mm) past the metal drip edge along both the eaves and rakes.
- Offsetting: Cut 6 inches (152 mm) off the first starter strip at the rake edge to ensure its joints do not line up with the joints of the overlying first course of shingles. Fasten starter shingles 1.5 to 3 inches from the bottom edge using 4 to 5 nails per strip.
- First Course Placement: Lay the first full shingle flush with the starter strip at the rake and eave overhangs. For Timberline® shingles, place nails directly within the printed StrikeZone™ nailing channel.
Step-by-Step Field GAF Shingle Installation and Valley Detailing
Work upward across the roof deck using standard stepped-offset sequences:
- Subsequent Courses: Trim shingle lengths systematically (such as removing 6 inches from successive starter pieces across courses) to keep end joints separated by at least 4 inches (102 mm) across adjacent rows. Maintain a standard 5-5/8-inch shingle exposure to prevent water leaks and protect against causes of asphalt shingles buckling and curling.
- Closed-Cut Valleys: Lay the first roof plane’s shingles across the valley centerline, extending at least 12 inches (305 mm) onto the adjoining roof face. Next, run the intersecting roof plane across the valley, snapping a chalk line 2 inches (51 mm) back from the centerline on the intersecting side. Cut the top layer along this chalk line, snip a 1-inch 45-degree water-diverter corner off the top edge of each cut shingle, and bed the cut edge in a 3-inch bead of asphalt plastic cement.
- Open Valleys: Center a 36-inch-wide GAF Leak Barrier down the valley valley, install minimum 24-gauge corrosion-resistant valley metal, and snap chalk lines that start 6 inches (152 mm) apart at the peak and widen by 1/8 inch per linear foot toward the eaves. Bed shingle ends in roofing cement.
- Strict Valley Rule: Never place a fastener within 6 inches (152 mm) of the valley centerline.
Wall Flashing, Penetrations, and Ridge Cap Finishing
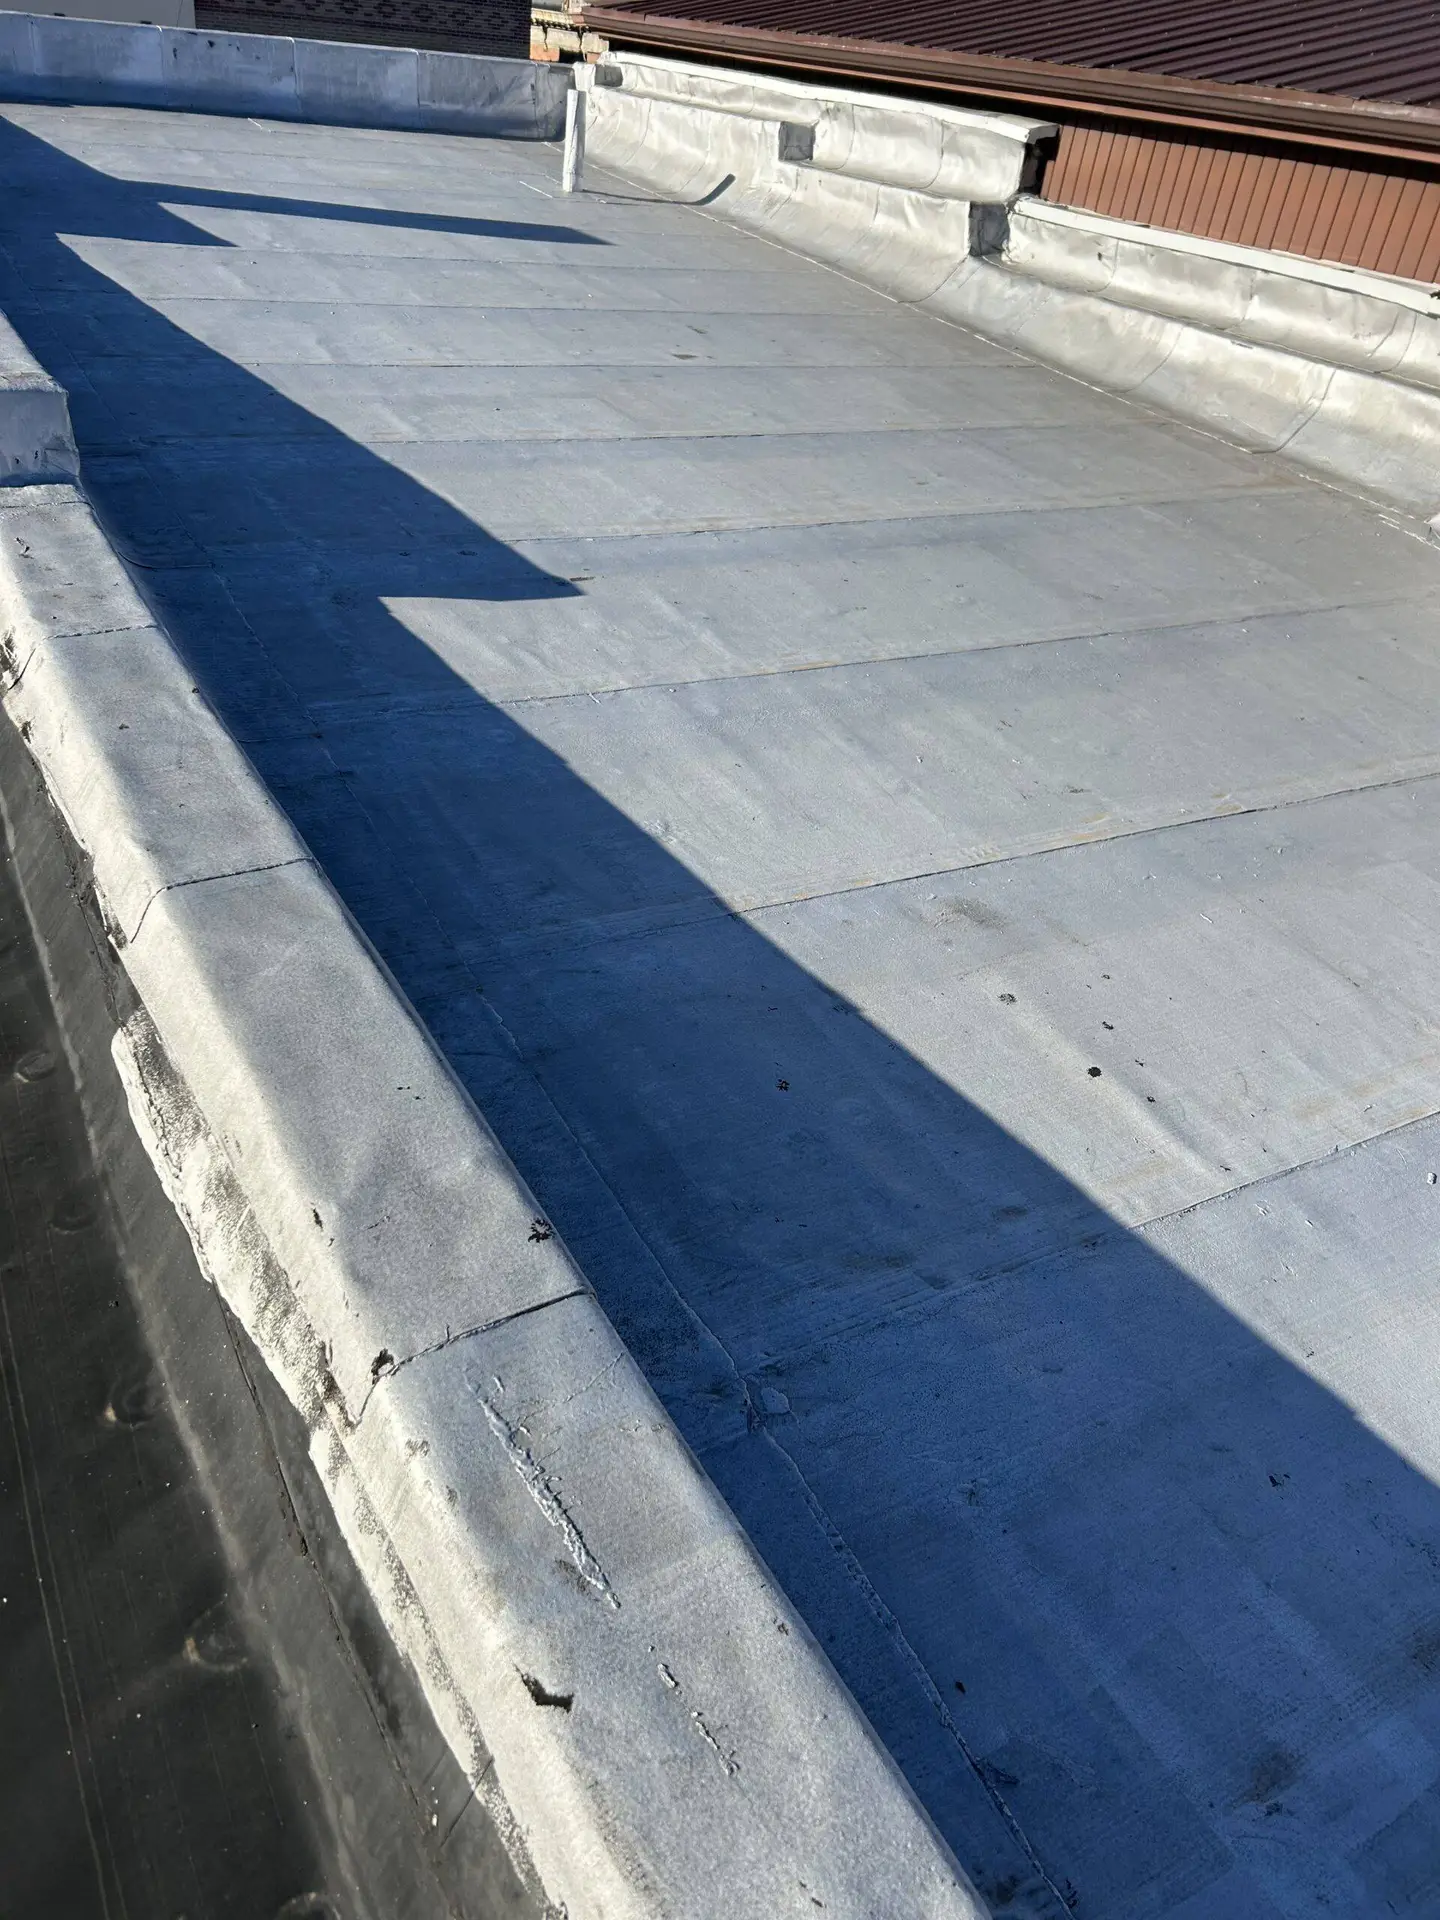
Roof junctions and deck openings require durable flashing details:
- Step and Counter Flashing: Where sloped roofs meet vertical sidewalls, interweave 2-inch by 4-inch (or larger) rust-resistant metal step flashing shingles between each shingle course. Step flashing pieces must overlap by at least 2 inches. Counter-flash brick or stone masonry with metal embedded 1 inch into mortar joints, sealed with polyurethane sealant.
- Chimneys and Crickets: For chimneys wider than 30 inches (762 mm), build a framed roof saddle (cricket) behind the chimney. Cover the cricket with GAF Leak Barrier, step-flash the sides, install apron flashing across the front, and overlap counter flashing around all sides.
- Pipe Boots & Skylights: Wrap pipe vent boots and curb skylights with leak barriers before shingles are installed. Run lower shingles beneath the bottom flange and overlap side/upper shingles over the top flange.
- Hips and Ridges: Finish peaks using GAF TimberTex® or Seal-A-Ridge® cap shingles. Center the cap over the ridge and nail both sides using 2 nails placed 1 inch behind the exposure line. Overlap caps by 5-5/8 inches away from prevailing wind directions. Knowing how to maintain your asphalt shingle roof keeps these exposed ridge components performing properly year after year.
Cold Weather Sealing Protocols and Attic Ventilation Calculations
GAF shingle strips feature thermally activated Dura Grip™ adhesive that seals under direct summer sun exposure. When working during extended cold spells or in exceptionally dusty locations, hand-sealing is required. Hand-seal shingles on steep slopes exceeding 21 inches per foot (greater than 21:12 pitch or ~60°). Apply 2 to 4 quarter-sized dabs of SBS-modified asphalt roofing cement beneath each shingle tab, pressing each tab firmly into the adhesive without squeezing cement onto exposed shingle faces.
Ventilation balance protects shingle systems from attic heat build-up and cold-weather moisture condensation:
- Ventilation Math: Building codes require a minimum Net Free Ventilation Area (NFVA) of 1 square foot per 150 square feet of attic floor space.
- Balanced Exhaust & Intake: When airflow is evenly split between continuous soffit/eave intake vents (50%) and ridge exhaust vents (50%), the requirement can be lowered to 1 square foot per 300 square feet of ceiling area. Install Cobra® ridge ventilation systems alongside matching ridge caps to complete the thermal envelope.
To ensure your installation matches high standards, use this final roof quality assurance checklist:
- Substrate inspected, fully nailed, and free of moisture or rotting sections
- Drip edge installed at eaves beneath the leak barrier and along rakes over the underlayment
- Leak barrier placed across eaves, valleys, dormer junctions, and roof penetrations
- All nails driven straight and flush into the designated nailing band without punching through the shingle
- Shingle offsets set at least 4 inches apart with no aligned vertical joints
- Step flashing and counter flashing seated and sealed at all vertical masonry walls
- Valleys cleared of fasteners within 6 inches of the center flow line
- Attic intake and ridge exhaust ventilation verified to match the 1:300 balanced standard
For homeowners seeking dependable craftsmanship, our team at Mid-State Construction & Roofing, Inc. provides certified residential and commercial roofing across Beecher City, Effingham, Shelbyville, Altamont, Vandalia, Ramsey, Salem, Hillsboro, and Litchfield, IL. We manage every flashing junction and nail placement with precision, backing our work with comprehensive warranties. Contact our team to book your Mid-State Construction & Roofing professional roof replacement services consultation today.